If you have our fourteen-inch cash register in your company, the Table Map function allows you to create a graphical interface to layout the tables in your office precisely according to their location. The table map fully replaces the Overview of tables.
To activate it, contact our customer support via chat, at 602 405 047, or by email, you can write to us at pomoc@storyous.com.
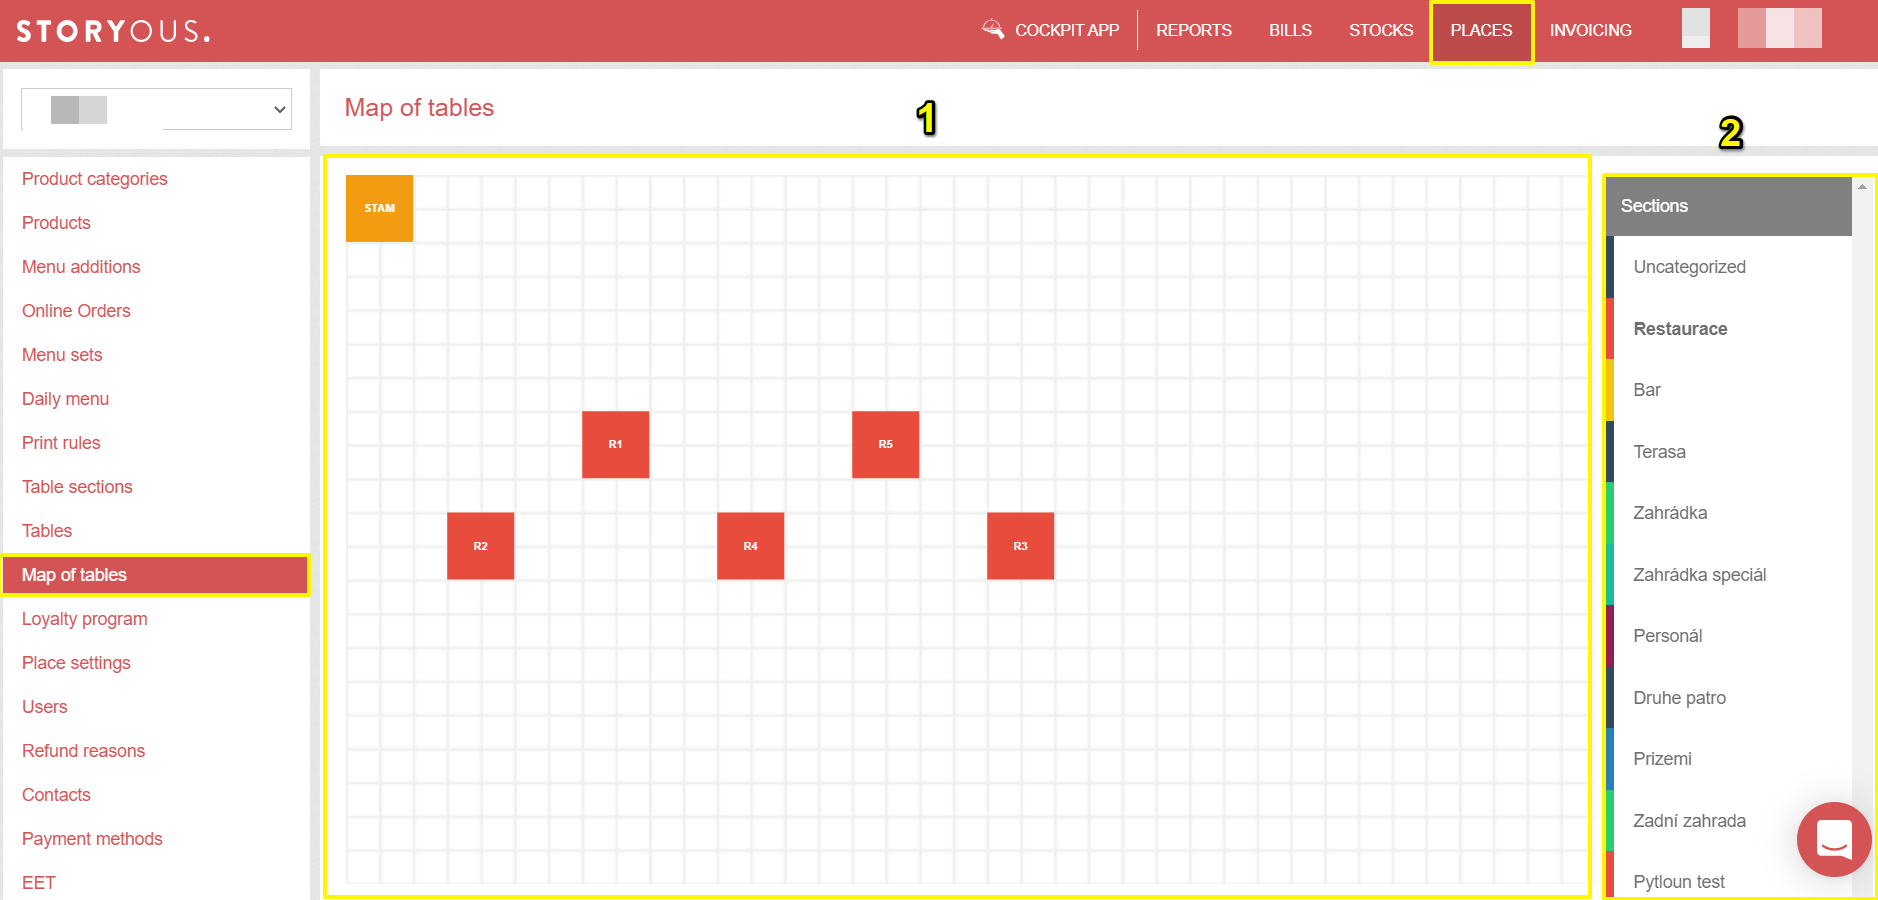
After activation, you will find the Table Map tab in your web administration in the Setup section. Its graphical interface (1) and Selection of table sections (2) will open immediately, so you can set up a unique map of tables for each section.
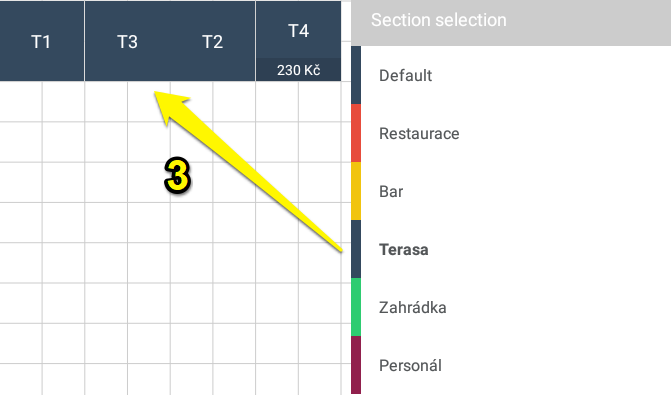
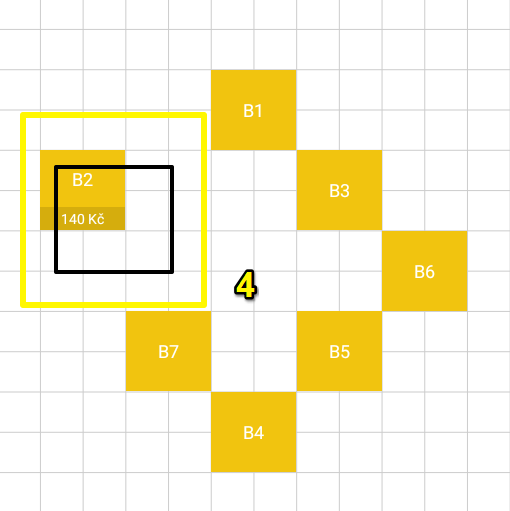
All tables in the selected section are automatically sorted from left to right (3), but you can move them with the mouse cursor according to the layout of the tables in the company (4).
Map of tables in the Storyous POS application
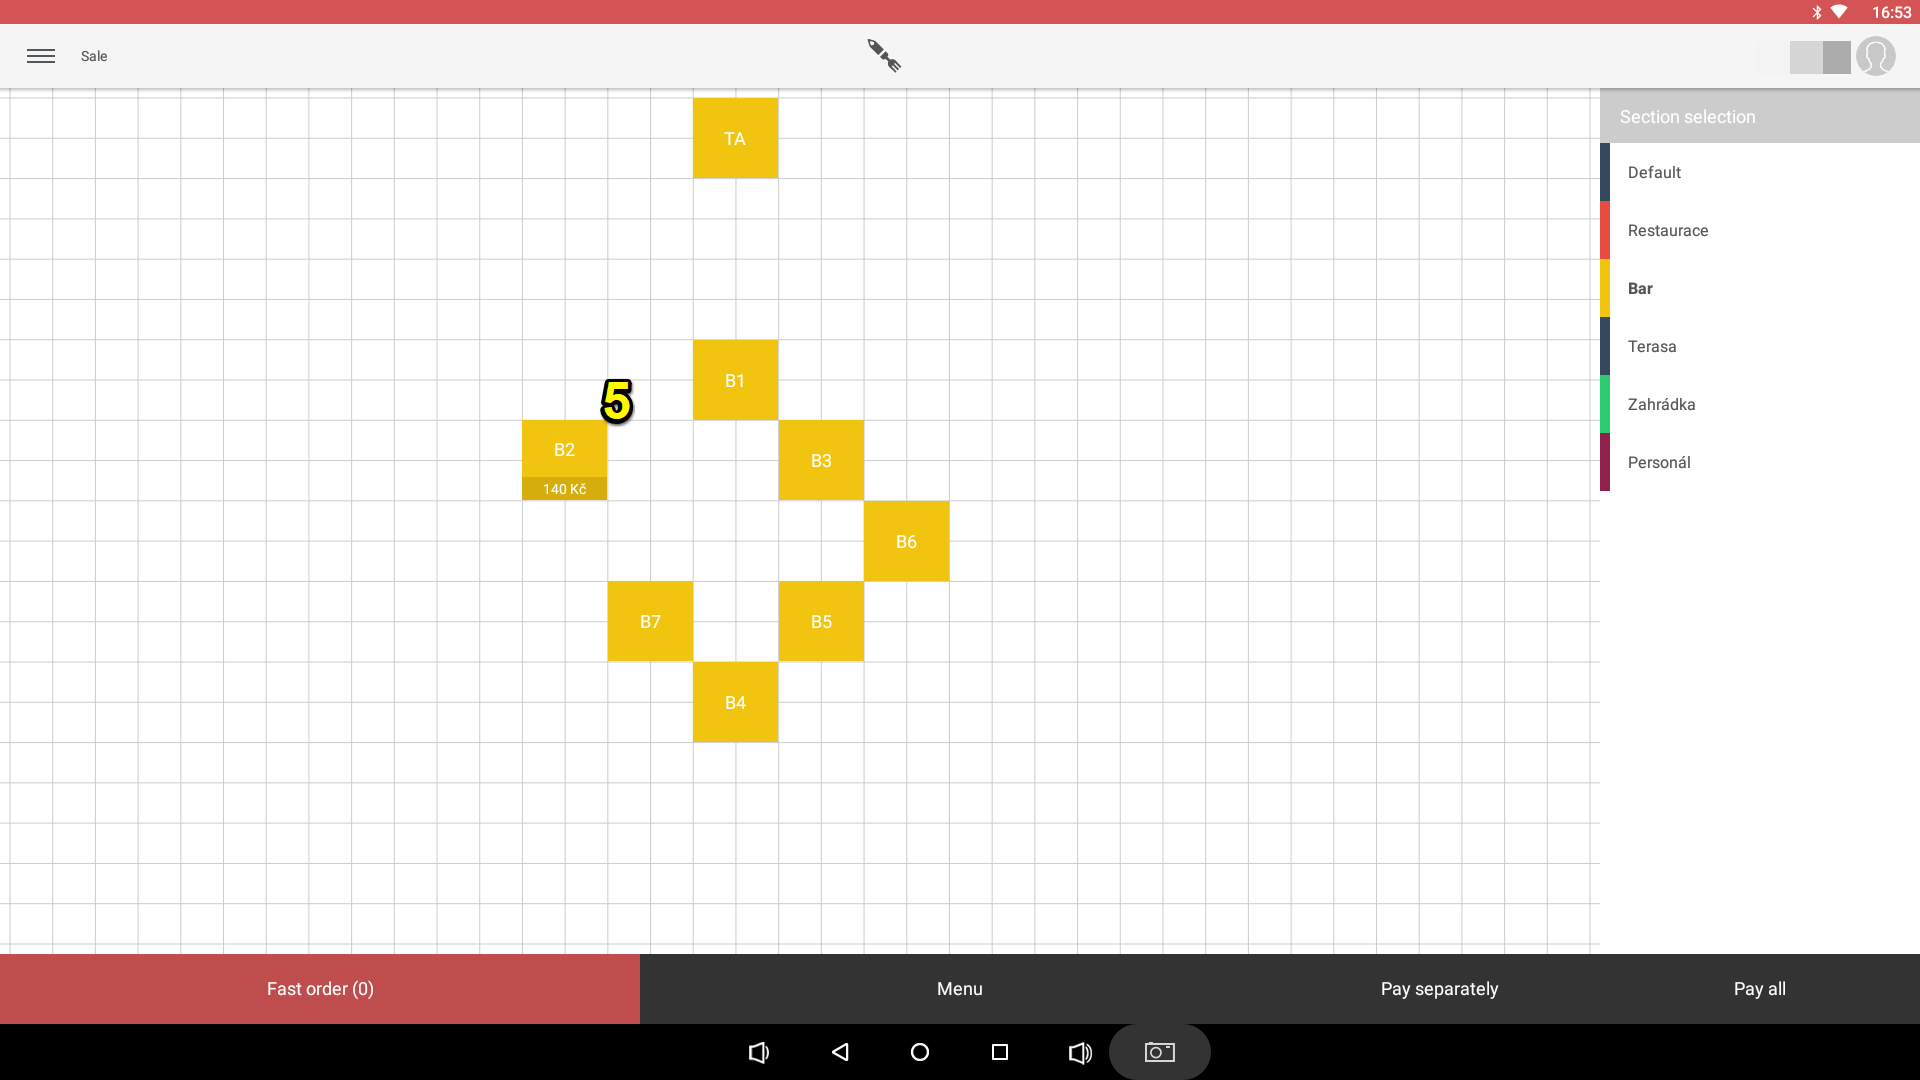
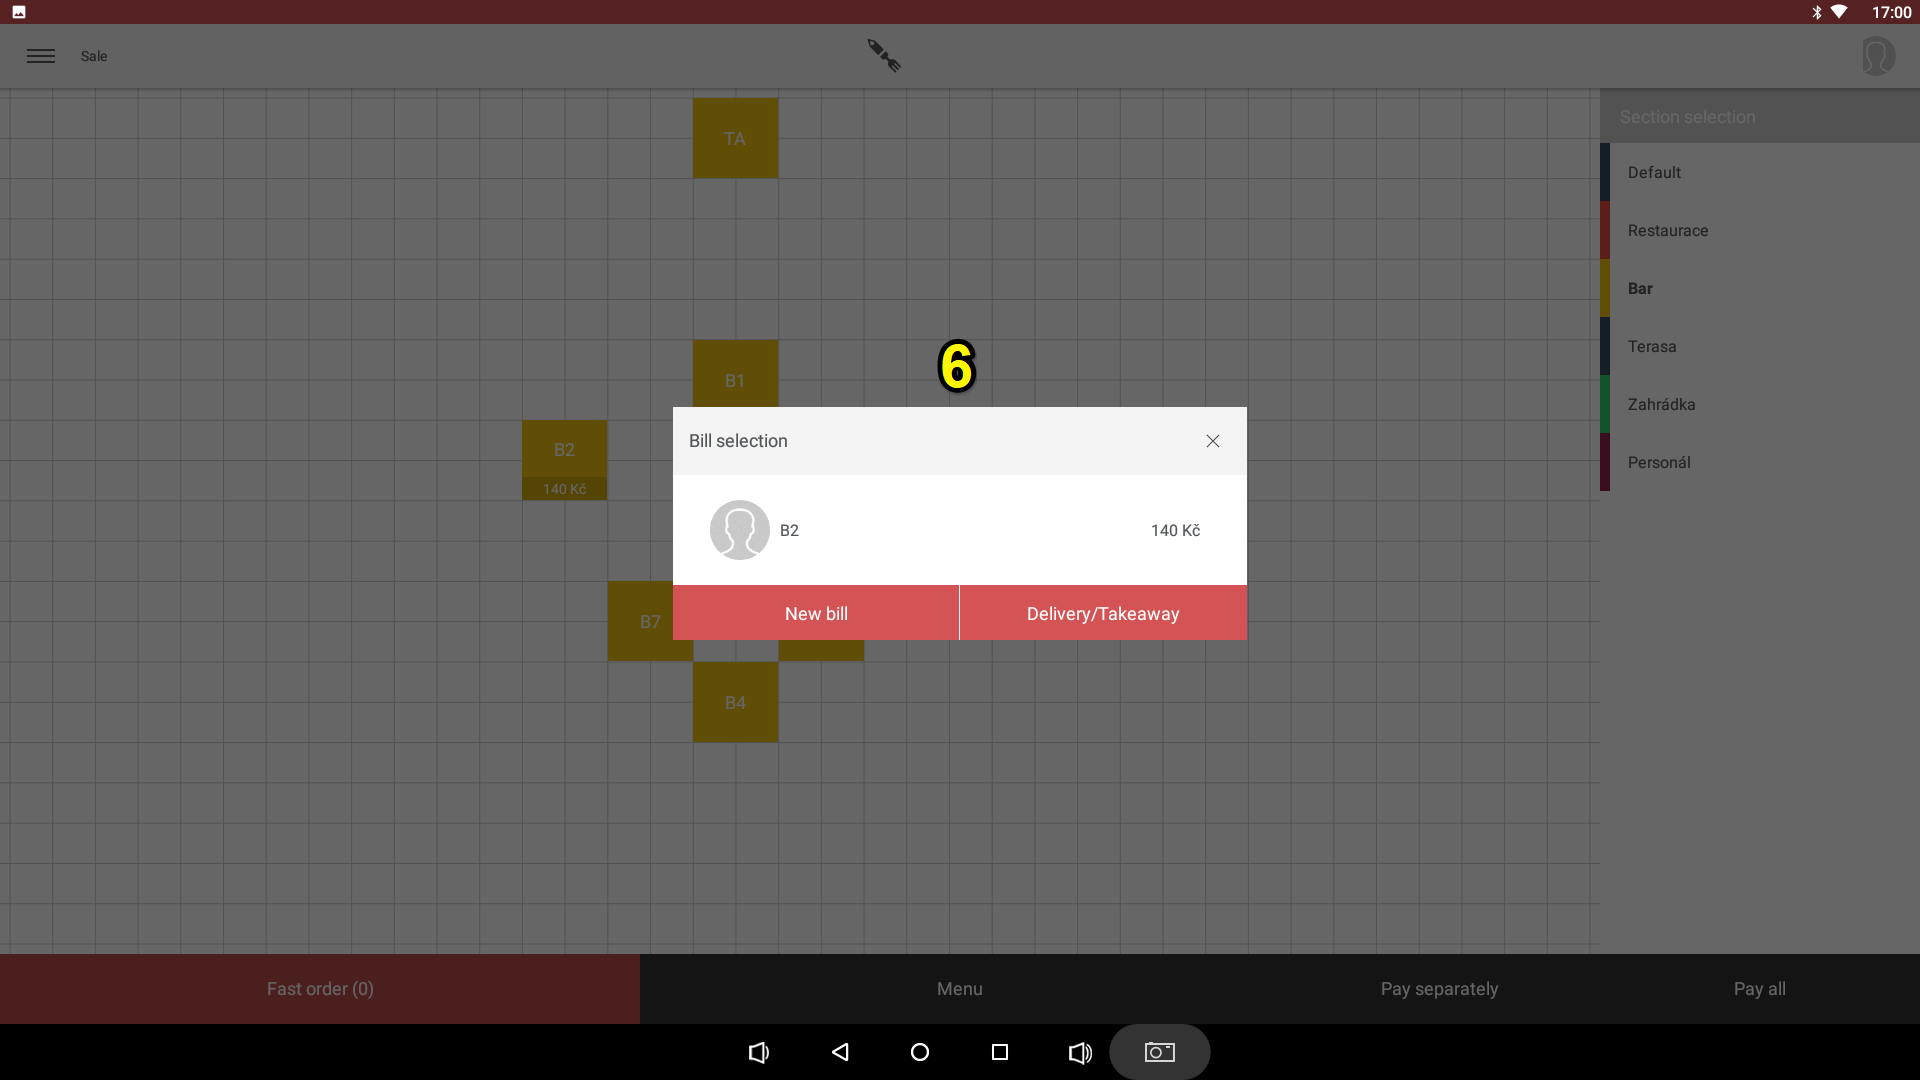
In the first section, the Sale from the application menu, where without the active table map would be Overview of tables, change the graphical interface exactly according to the settings in the administration (5). You can mark by clicking on a specific table. The menu looks the same as before activating the Table Map. If you want to return to the account on the table and mark other items or close it or create a new account, you will be able to choose after clicking on the table (6).
